Sometimes we wanted our personal service to be hosted in our own network at home and we wanted it to be accessible via internet. However, our ISP doesn't provided us with a static IP. Thus our public IP could be anything for some moment. Knowing this different IP's is not ideal and tedious. This is where a service like NoIP comes in where it gives a more easy to remember hostname that is attached to your current public IP. But keeping it updated is still a tedious thing to do. This is where we can use Raspberry Pi to do this task for us.
Assumption
- Windows is being used for configuration.
Pre-requisites
- Existing NoIP account with registered hostname or sign up here and register a hostname.
- Existing Raspberry Pi Server or setup a new one.
- WinSCP is installed (or any SFTP client you know how to use). In the procedure I am only using WinSCP for simplicity.
- Putty is installed (or any SSH client you know how to use). In the procedure I am only using Putty for simplicity.
Procedure
- Download Dynamic DNS Update Client for Linux here (i.e. normally named noip-duc-linux.tar.gz).
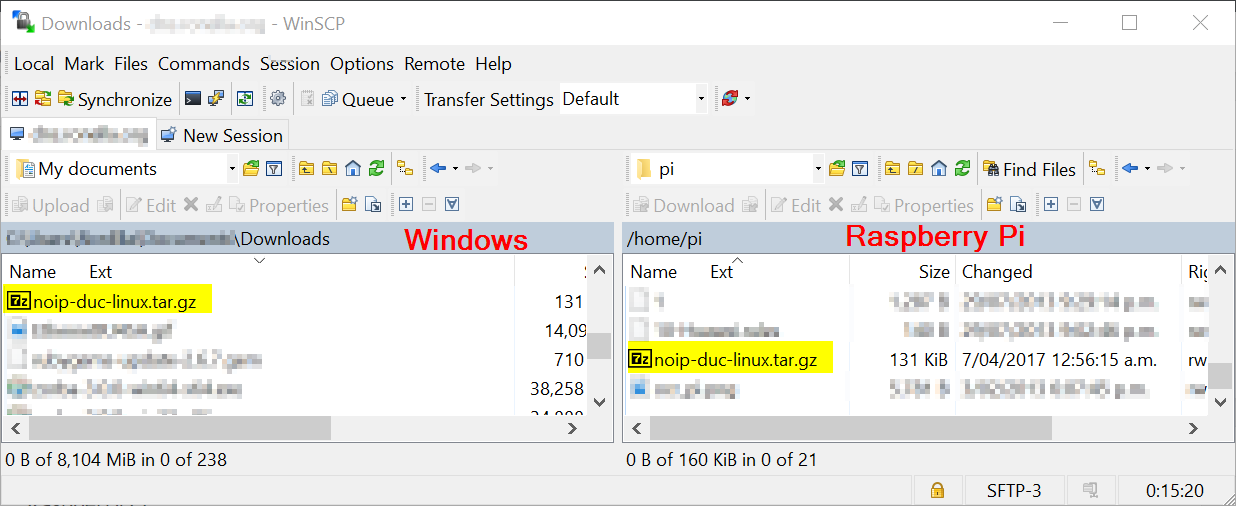
- Using WinSCP upload the newly downloaded file to the home directory of the account with sudo group on your target Raspberry Pi. The output is similar to the following when using the default pi user:
- Using putty sign-in to your Raspberry Pi using the account you used in the previous step.
- In your home directory extract the tarball using the following command:
tar -zxf noip-duc-linux.tar.gz
The extract is a directory similar to the following format:
noip-<version>
- Go into the extracted folder and install using the following commands:
sudo make
sudo make install
- Type in your login or email address (i.e. you used on noip sign up ) and press Enter.
- Type in your password (i.e. you used on noip sign up ) and press Enter.
- Type in your update interval and press Enter or just press Enter (i.e. if default [30] is good for you).
- Press Enter and the output is similar to the following if your noip version is 2.1.9-1:

- Go to /etc/init.d directory with the following commad:
cd /etc/init.d
- Create a noip2 file with the following command:
sudo vi noip2
- Type i (i.e. insert mode) and paste the following script:
#! /bin/sh
#. /etc/rc.d/init.d/functions   # uncomment/modify for your killproc
case "$1" in
start)
echo "Starting noip2."
sleep 10
/usr/local/bin/noip2
;;
stop)
echo -n "Shutting down noip2."
killproc -TERM /usr/local/bin/noip2
;;
*)
echo "Usage: $0 {start|stop}"
exit 1
esac
exit 0
- Type :wq (i.e. write and quit) and then press enter.
- Make the script executable with the following command:
sudo chmod 755 noip2
- Go to /etc/rc3.d directory with the following command:
cd /etc/rc3.d
- Create a symbolic link named S05noip2 pointing to the noip2 script you've created earlier with the following command:
sudo ln -s ../init.d/noip2 S05noip2
Validation
After completing the procedure above, do the following:
- Identify your current public IP here and note it.
- Ping the hostname you've registered to NoIP using the command terminal and check if it is equal to the IP you've noted from the previous step.
Recent Comments